Imagine this scenario: you’re out in the wilderness, nestled in your sleeping bag atop a comfortable inflatable pad. But as the night progresses, you wake up to find yourself uncomfortably lying on the cold ground – your sleeping pad has deflated. It’s a common frustration for backpackers, but fear not! With a little know-how and some affordable materials, repairing your sleeping pad can be a straightforward task.
Modern inflatable sleeping pads offer unparalleled comfort compared to their foam counterparts, but if they can’t hold air, they’re practically useless. Every seasoned backpacker has likely encountered a puncture issue at some point, spending hours trying to locate and seal a tiny hole causing major discomfort. But what if I told you it doesn’t have to be that difficult? With just a few basic tools and some simple techniques, finding and repairing a hole in your inflatable sleeping pad can be a quick and easy task, taking only a few minutes of your time (plus a bit of drying time).
 (Photo: Roger H. Goun)
Finding the Elusive Hole
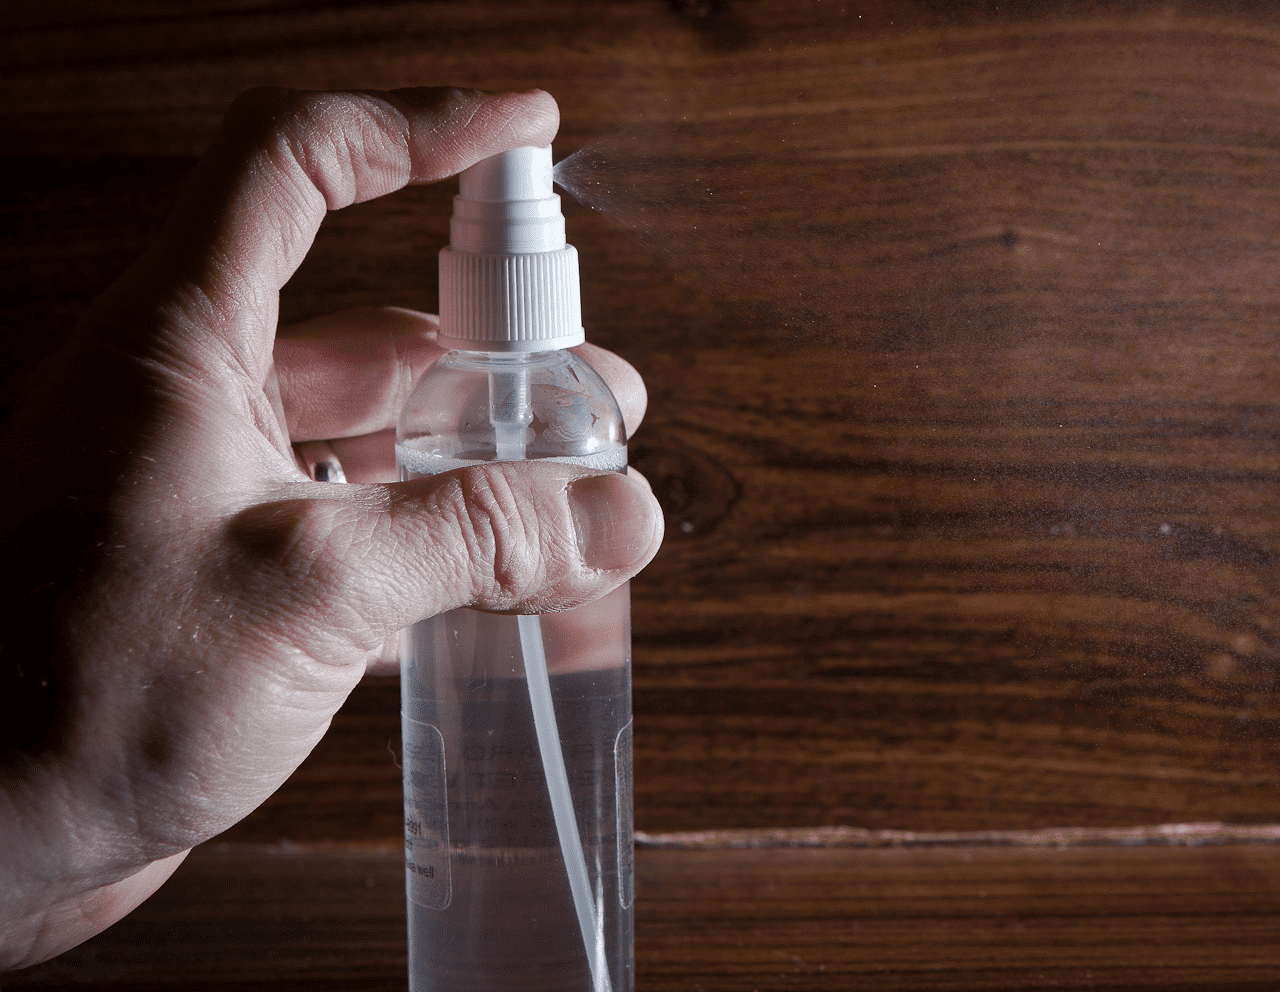
The first challenge in repairing your sleeping pad is identifying the hole. Most punctures are too small to see with the naked eye, making this step tricky. Instead of searching aimlessly, mix a few drops of soap into a bottle or bowl of water, inflate your pad, and spread the soapy mixture across its surface. As air escapes from the puncture, it will create bubbles, revealing the damaged area. Mark the puncture using either athletic tape or a marker, and continue this process until you’ve inspected the entire surface of the pad. (Helpful tip: Begin this procedure early in the morning to allow ample time for the pad to dry and for the following repair to properly set.)

(Photo: Courtesy)
Patching Up the Hole
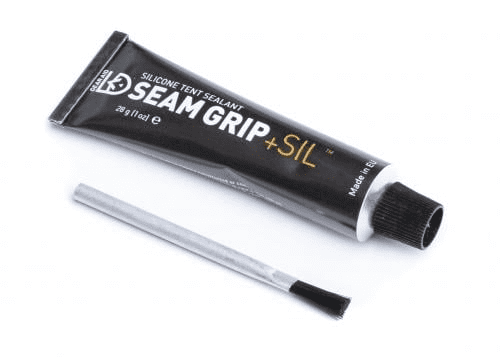
Forget about those adhesive patches that come with your pad; they’re often ineffective and temporary. Instead, opt for outdoor-friendly glue like Gear Aid Seam Grip WP. After your pad has dried, apply a small amount of adhesive over the hole and allow it to dry for 8 to 10 hours. Ideally, lay the pad flat during this time, but if you’re on the move, carefully fold it and attach it to the outside of your pack, glue-side out. To test your repair job, place some heavy but non-pointy objects on the inflated pad and check it after eight hours to ensure it’s still holding air. If you’re on your journey, inflate the pad and cross your fingers for the best outcome.

Tips for Preventing Damage
Prevention is key to avoiding future repairs and most damage to your sleeping pad. In areas with sharp foliage or rocks, consider using a ground cloth (foot print) underneath your tent to minimize the risk of punctures. For particularly rugged terrain and if weight it’s to much of an issue, carrying a lightweight closed-cell foam mat to layer underneath your inflatable pad can provide extra protection. And remember, avoid carrying your sleeping pad on the outside of your pack, as it’s prone to cuts, scrapes, and pokes that can damage it beyond repair.
Knowing When to Say Goodbye
Despite your best efforts, some damage may be beyond repair. If you find yourself constantly patching small holes or facing significant damage, it may be time to invest in a new sleeping pad.
By mastering these simple repair skills and following preventative measures, you can ensure a more comfortable and stress-free backpacking experience on your next adventure. For additional tips on improving your rest outdoors, check out How to Sleep Better in the Backcountry. Don’t let a deflated sleeping pad ruin your trip – tackle the repair with confidence and enjoy a night of restful sleep in your tent or under the stars!


